Monday, June 27, 2011

Dog Waste Composting

A couple months ago I discontinued my curbside trash pickup and now run my own trash to the local waste management site. The price for emptying a small bin of trash was going up every few months due to gas and energy surcharges and I found myself paying close to $80 every 3 months for waste disposal. I don't generate a lot of waste. I buy very few pre-packaged items, I recycle and compost all I can. The waste management site charges $2 to dispose of a 30 gallon size bag of trash. I found that I fill a trash bag about every 3 weeks. Quite a cost savings for very minimal effort.

However, I did find out what was the source of a large amount of waste--

Yes, the Rosa dog.

I found dealing with her waste a bit more difficult. But then I came across information about pet waste composting and in the course of a weekend, put together my system. I followed the directions on cityfarmer.org (Yeah, I still don't know how to add a link in my post)

First I dug a really deep hole

I located the hole in the area where the dog does her business. It is right next to the alley, far from the vegetable garden. "Call before you dig!" It was very easy digging, though smelly-because after all I was right in the area where the dog does her business.

I dug a round hole that was 36" deep. I had only a shovel and a coffee can. A post hole digger would have been nice and my kind neighbor, Dave offered me the use of one when I was done.

I bought a nice new shiny galvanized trash can, Locally made!! Then I used a 1" drill bit to drill several holes in the bottom and sides of the can.


I threw a bunch of rocks into the hole. I was glad to be able to get rid of some various pieces from around the yard- a small area of concrete (or is it cement?) that I broke out, a few broken patio blocks and a couple broken bricks. I added the bricks and rocks to bring the height of the can up to where I wanted it to be.

I then filled in the space around the sides with more rock. Glad to find another use for the piles of landscaping rock surrounding my house. I dug this hole before I bought the garbage can and I think I did an amazing job of estimating the size.

I still have to move the excess dirt pulled from the hole. The can will be just slightly above grade- this will prevent all the rain water funneling into it. But I will grade the surrounding soil so that I can remove the cover and rake the waste right into the hole/can.

From here I just put the waste in the can, then start things composting with the use of septic tank starter and added water. The septic starter promotes natural bacterial growth. As I think about it now, it seems the water will quickly drain out of the can until there is a good amount of waste in there. I'll just see how it goes. Once it gets started it needs a bucket of water a week and packet of septic starter about 1-2 times a month. Most of the waste should turn to liquid, wash out of the container and what remains is a humus (hummus?). There is no smell, even in the warmest weather. I've read that it will take 3-5 years for the can to fill. Then it can be buried in another part of the yard and start again.

Sunday, June 19, 2011

Sunday

I worked on this little piece of side yard today, it really needs to be cleaned up. I would like to enlarge the perennial garden area and but I need to put down some sort of mulch or grass right next to the alley. I have trained the dog to use this part of the yard. I used to have a row of mulberry bushes that separated the area. Now it is all out there. Not sure what to do here.

My friend Carol surprised me with these pots one day. We both have Fiestaware dishes and these pots have the same bold colors. I finally got around to putting plants in them. I usually go and get my annuals on Mother's day, but everything was on sale on Father's day.

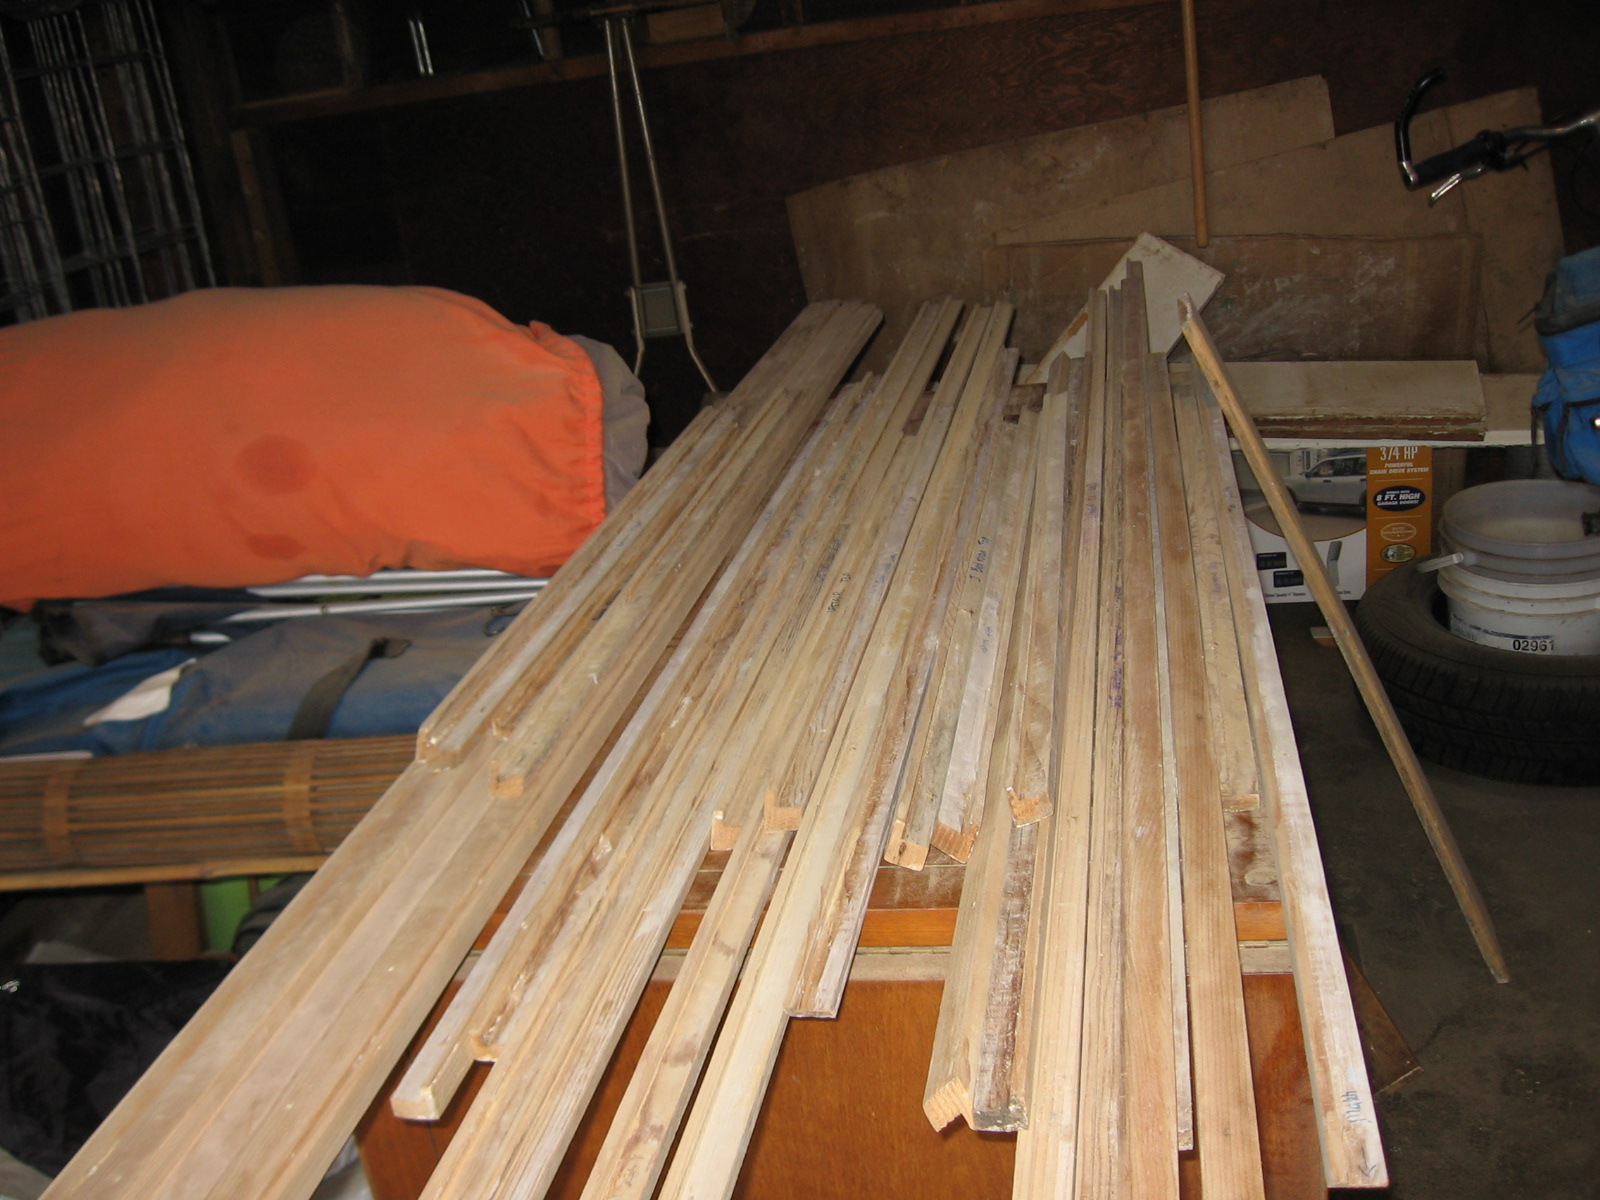
I spent most of the day in my garage, sanding trim. This has been a three year marathon. I stripped the paint off with the Silent Paint remover, rough sanded with 80 grit, next was 120 grit. I will fill the holes and then do a final sanding. I am afraid to stain and shellac them. All the work to clear the old finish, I am reluctant to mess up a new finish. It is holding me back.

Wednesday, December 8, 2010

Dismantling the Queen

In preparation for refinishing the floors in the house I had to move everything out of the main level. Many items went in the basement but I didn't want to put the beds down there. I was faced with hauling the queen sized mattress and box spring up the stairs. Up the narrow and steep stairs with a turn at the top.


Option 1- Don't even try- it will not fit

Option 2- Try it!!
- Well I did and it didn't fit, not even the mattress.

I bought a roll of cling wrap thinking I could fold the mattress in half and wrap it in cling wrap.


I tried it and there is no way the cling wrap would hold together a folded mattress. Maybe if I went around it about a hundred times.

So then I remembered the straps I used to hold the canoe and other objects on the top of the car.

These worked great. I folded the mattress, sat on it and wrapped the straps around it and ratcheted it tight. It also provided some good hand-holds for carrying the mattress (I was working alone here).

So I carried that giant mattress taco up the stairs. The interior wire framework got bent but it straightened out again after a little reverse folding and just laying the mattress flat for a time. Sleeping on it helped and I slept on the mattress on the floor for a couple of nights.

Now the box spring. No folding this in half.... There are split queen box springs available but I did not want to spend the money. There are tutorials on line about how to cut a box spring in half and piece it back together and I was willing to try that. I flipped the box spring over, took off the fabric backing to see what I had to work with.

3,552 staples removed and I found the box spring was made up of a grid of wood boards and wire supports- no surprise there. Then by examining the board structure and the heavy wire mesh below, I came up with a plan of deconstruction that would allow me the ability to reconstruct.


Rather than sawing anything in half, I removed the boards running the length of the box spring, 5 boards in total, quite easy to remove.

I removed the long boards because I could see that this would allow the wire mesh to be folded in a manner that would not require too much force or deform the box spring in any permanent way. I just looked and the wire mesh and figured out which way it would be easiest to fold.


So again I was able to fold it in half and secure it with the ratchet tie down straps and carry it up the stairs. I laid it flat again, put the long boards back on with wood screws (making it more secure that the nails) and then stapled all the material back in place like it was in the beginning.

Easy-Peasy

Sunday, November 28, 2010

It has been 1O months...

...since I last posted.

Here's what I have been doing since then.

January... got rid of all the old knob and tube wiring in the basement


The house is all rewired but there is still old stuff in the garage. Do you like this tuna can receptacle?


February, March and April in were spent in a funk and I couldn't get my mind around doing anything but sorting Legos


May
Worked on the sewing studio


June
Stripped the stairs and landing


July
Spent three weeks in China!!

Hangzhou


Shanghai


Beijing

Three wonderful weeks visiting my son and his girlfriend and seeing as much of China as possible.

August
Tore up the kitchen floor and emptied out the main level of the house


September
Had all the wood floors stripped, sanded and refinished


October, November
Stripping trim, restoring windows, painting, aargh it has been a full year. The house is still empty and working like crazy to get the windows back in their frames.

Saturday, January 2, 2010

Kids

My son has graduated from college and moved to China. Not house related- but certainly a big deal here at the house.


Now I just have this "kid" at home.

Friday, January 1, 2010

Bathroom (almost) Done

My bathroom has been put together for some time but I have not updated posts here. It is not totally done but is at about 98%. Why is it so hard to finish that last little bit??

Here is what it looked liked in the beginning...

And now...
new beadboard on the walls, pedestal sink from the Habitat ReStore. Ikea cabinet that was an exact fit for the space, new lights, towel ring from the ReStore, original medicine cabinet stripped and repainted.

New vinyl floor (tile must wait), toilet paper holder from the Habitat Restore, toilet from the ReStore, original tub.

Before...

After...
vintage ceramic cup holder from ReStore, towel bar from the ReStore, new American Standard Williamsburg faucet.

Exhaust fan from the ReStore added where there was none

Swanstone tub surround, American Standard Williamsburg faucet, showerhead and spout

Original shower curtain rod reinstalled, towel hook from ReStore

I did not change the placement of any of the plumbing fixtures but did update all the plumbing-new supply lines, new vent stack. I kept the original plaster above the beadboard, behind it is new drywall because the old plaster came off with the old crappy tiles.
I put new drywall over the badly cracked plaster ceiling and reinstalled the light that was there. I don't think the light is the original but I love the starburst pattern it casts on the ceiling.

Still to do:
Recaulk around tub
Rechrome door hardware
Install small cabinet in toilet alcove
Resurface tub?
Replace vinyl floor with tile
Don't you hate it when there are repairs to do again before the initial restoration/remodeling is done?

Saturday, September 26, 2009

Old cabinet


Here is the small medicine cabinet that I had hanging above my stove. Cute, but too small to hold all my spices. Today, at a rummage sale, I found this cabinet for $32.

It is oak, I think, and begs to be stripped of the ugly paint but there are about 502 other projects ahead of it. I have another cabinet in the basement that I plan to put up here but there is much work to do on it before it is ready to hang.

I put a quick coat of paint on the inside to clean it up a bit. I used four 1/4 bolts to screw it into the studs but I worry about it falling. The chair rail on the wall holds much of the weight but I added some additional screws to secure the back to the frame.

Top shelf holds my collection of Kokeshi dolls. I have not had a place to display them for a while. So, it is ok, another quick fix for a room that needs a major overhaul/restoration.